 |
|
|
| Return to front page | Return to News Archive |
| [Ben]: | Gun refinishing (image heavy) | Discuss This [5 comments so far] View Comments | On July 4th, while the rest of you were contemplating the meaning of freedom as I required, Nate and I did a little refinishing. He had some DuraKote left over from refinishing his Marlin and had to touch up a few parts, and he asked me if I had any guns that needed to be refinished.
At the end of the day, we'd refinished the parts on his Marlin, a Colt 1911 Commander, the slides of two KelTec P3ATs and an old Remington .22LR rifle.
Alas, I've gotten ahead of myself.
I went into the day hoping to get this beauty refinished:
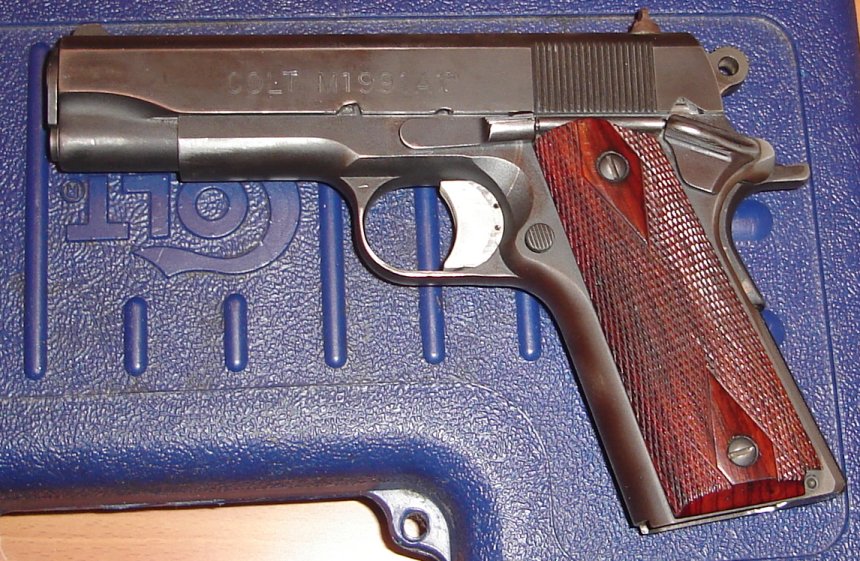
Notice the holster wear on the front of the frame and slide, the idiot marks from the slide catch and the rust browning on the frame around the grip area. A couple of closeup shots of some of the wear:
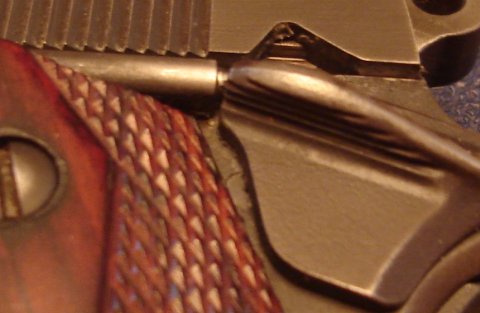
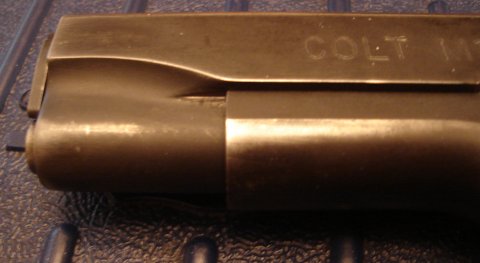
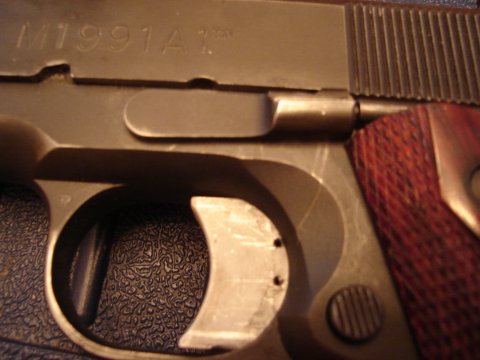
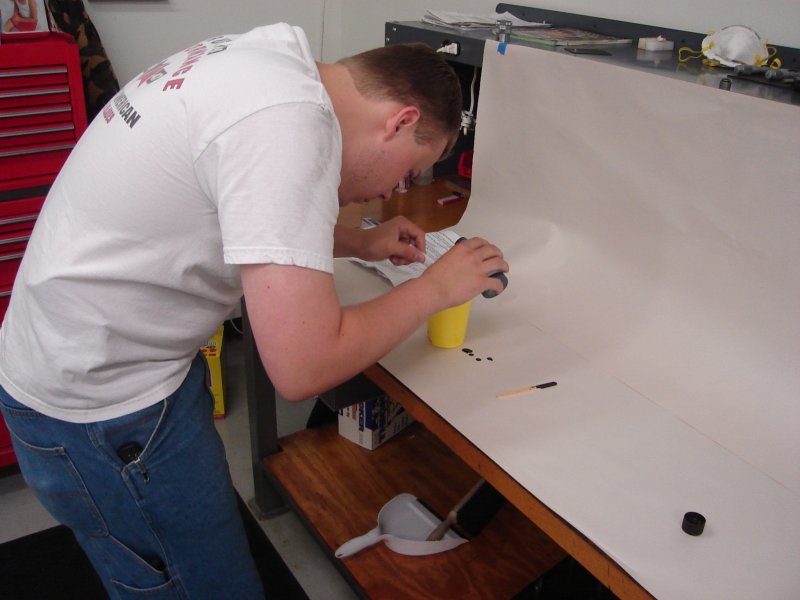
Nate and I went on over to his work to make use of the equipment there. We swept off a workbench and Nate taped up some paper to protect it. To start the process off, he got to work carefully measuring and mixing the various chemicals - a finish base and a hardener.
Meanwhile, I took my pistol apart and masked the areas I didn't want to finish:
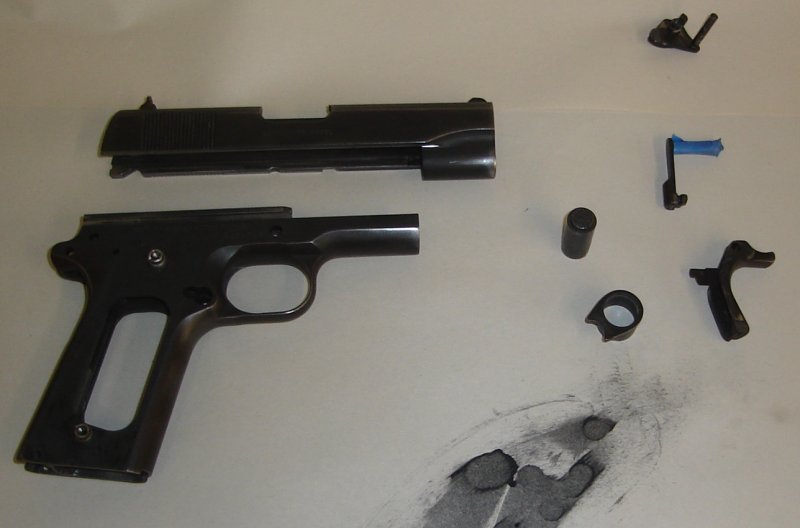
After I did the masking, I took it to the bead blasting machine marked "ENGINE PARTS ONLY". I suppose a handgun is a sort of internal combustion engine, so I went ahead and blasted. The results were quite nice (note my 15 minute refinishing rig - it worked surprisingly well).
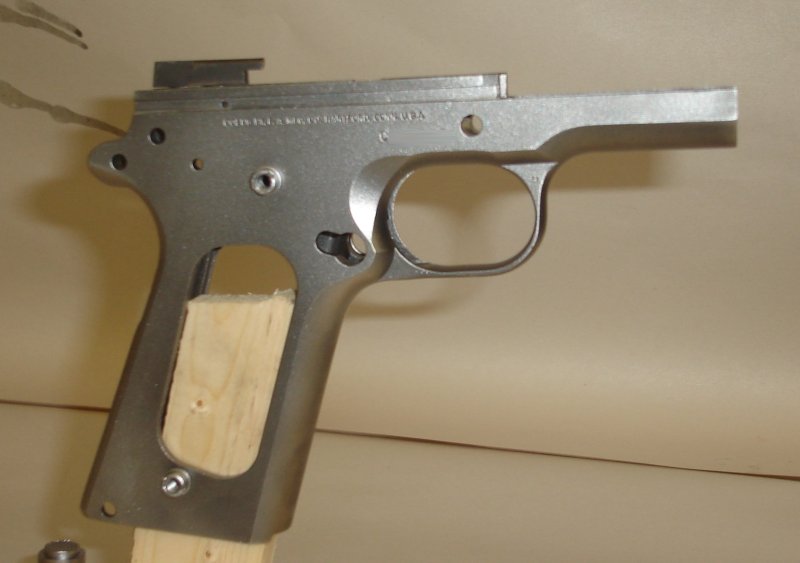
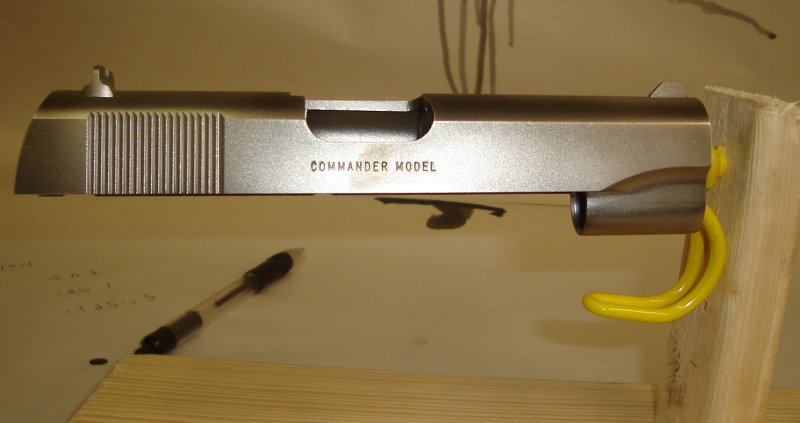
We sprayed the bead blasted parts with "TrueStrip" until we ran out and ended up using brake parts cleaner. That removed any oil and grease on the surface of the metal that would interfere with the coat adhering to the metal. We took some scouring pads and roughed up the surfaces we qere going to paint, again to improve the adherance of the coating. Finally, all the parts were in place. Nate dug up some steel scraps and let me practice on them to get a feel for the technique. After a few false starts, I got to work on the frame itself.
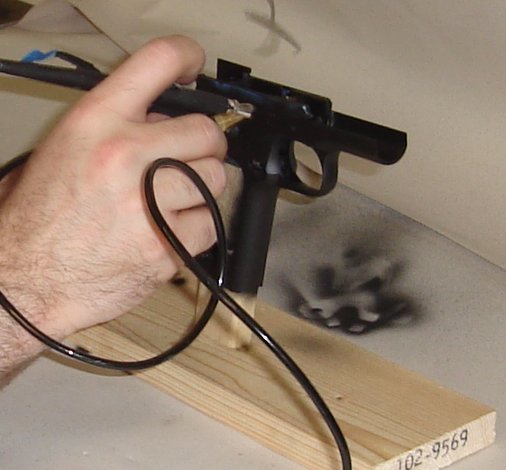
Between coats, we hit it with some air and then baked it for 15 - 20 minutes in a parts oven at about 150 degrees. Then we'd bring it back for another coat. I think I've got about 3 or 4 coats on the outside of the gun and a few less on any interior parts. Can't forget the bottom:
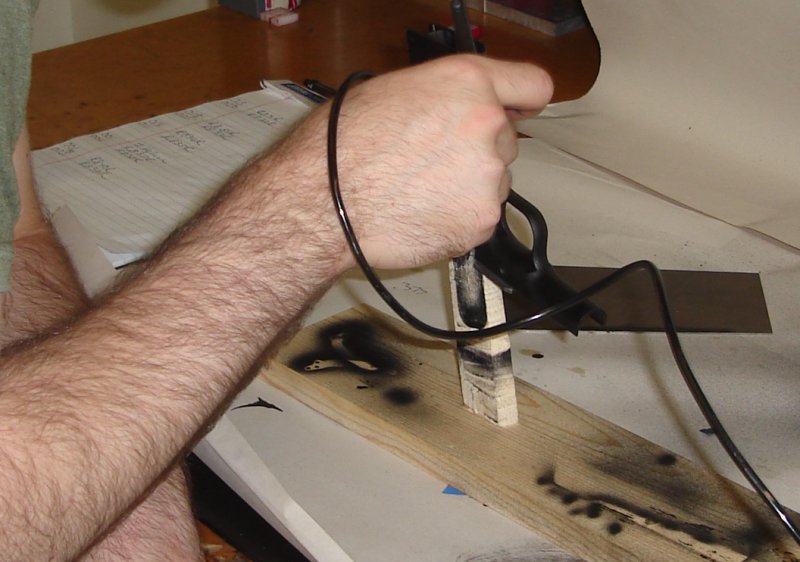
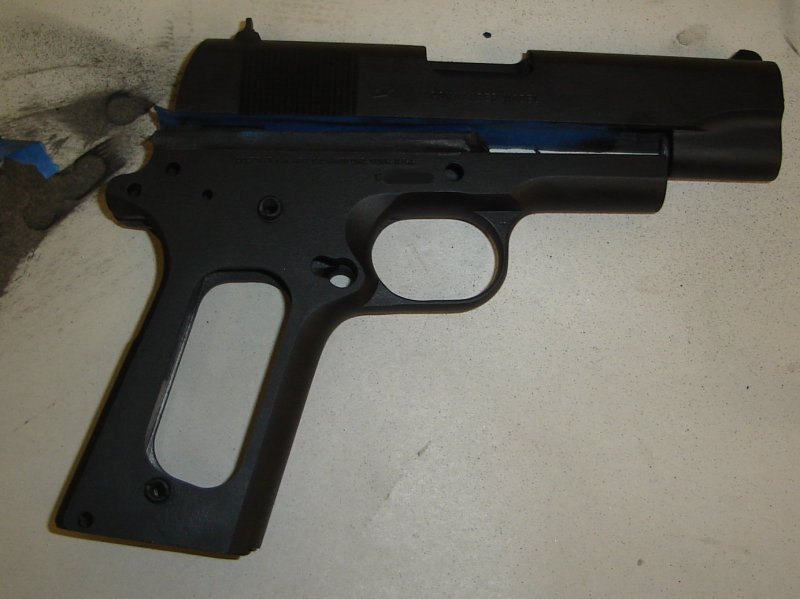
When I finished, the frame and slide looked like this:
Well that's all well and good, but we found we had way too much finish left over to throw out. I came up with the idea that we could refinish our KelTec P3ATs, so we did. I forgot to hit mine with brake cleaner before refinishing, so I doubt the finish will hold up as well as the rest of our work. I'll keep an eye on it.
After a break for lunch, we still had too much finish to throw away. Nate loaned me his truck and I ran back home to grab my father-in-law's Remington .22. This gun is a bolt-action, tube-fed .22 that he had when he was a kid. It spent a long time locked up in a basement gun vault and developed a serious case of gun cancer. I had already treated it as best I could, but it was time to take it one step further. Here's the action masked and bead blasted:

Nate helped me refinish this one:
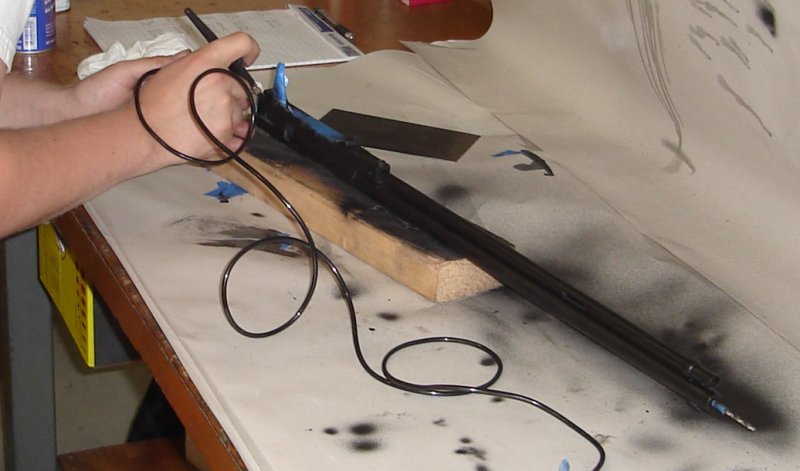
It turned out quite nicely:
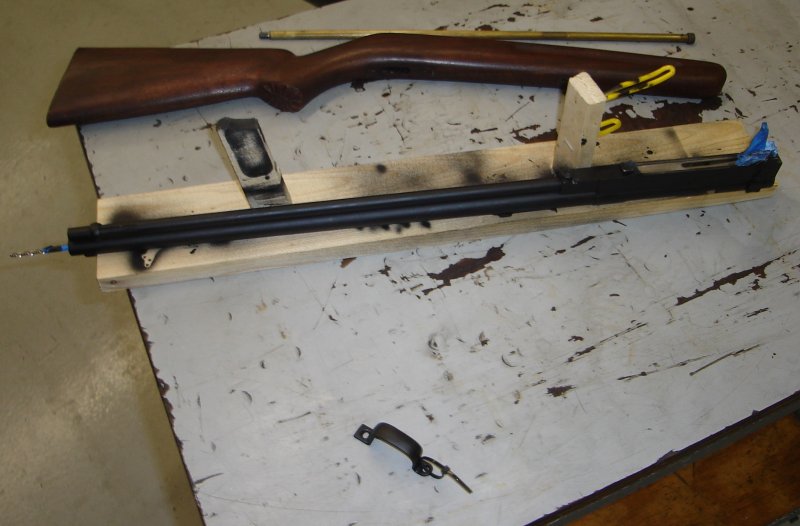
The finish that was left over was starting to harden in the airbrush during the last part of the .22 project, so we called it a day.
After waiting five days (four days longer than the instructions say, two days less than Nate suggested) I reassembled my 1911. The results follow:
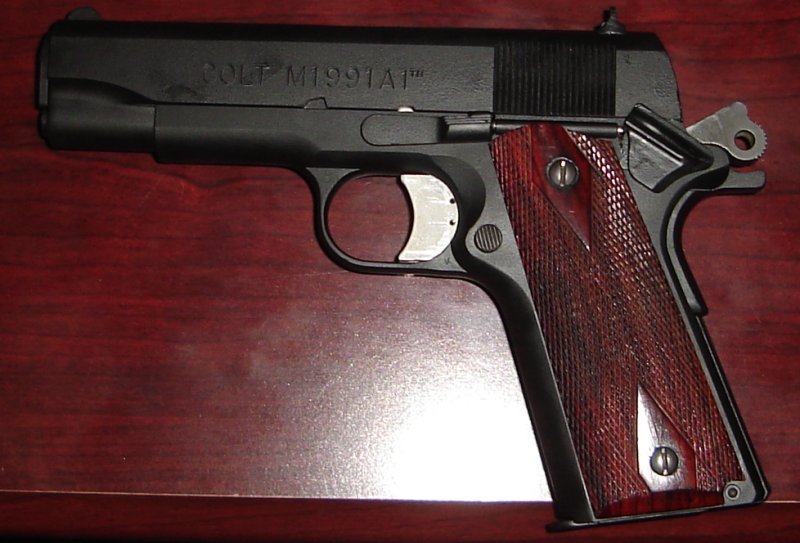
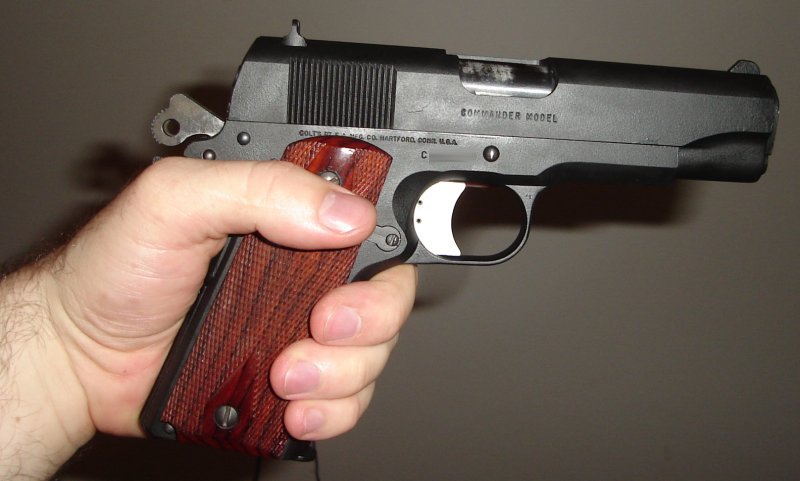
So that's the story of my refinishing adventure. It was a lot of fun and I was glad that Nate had already gone through it once before. |
| 2008-07-09
Permanent Link:
Gun refinishing (image heavy) |
| |
|
|
|
|